How to upgrade your GitHub Profile

So if you haven’t heard, or you’re like me and just now finding the time, there’s a very fun way to add a some great personalization to your GitHub Profile. This will go over how to get setup and how I got mine put together in an afternoon.
We will go over:
- Stats provided by GitHub Readme Stats
- Automated GitHub Actions
- Dynamic README content from The Office API
- Badges provided by Markdown-badges
I will also provide credits at the end of the resources I followed.
As always you can access the 💻 Source code at anytime
What is a GitHub Profile README?
First off the GitHub Profile README is a really cool way to add some personalization. Instead of the traditional pin view like “Popular repositories” or the contributions you’ve made in the last year; the Profile README can provide contact information, stats/graphs, iconography for items like tools and libraries, and even dynamic data! It can be as simple or as complex as you wish.
How to create a GitHub Profile README
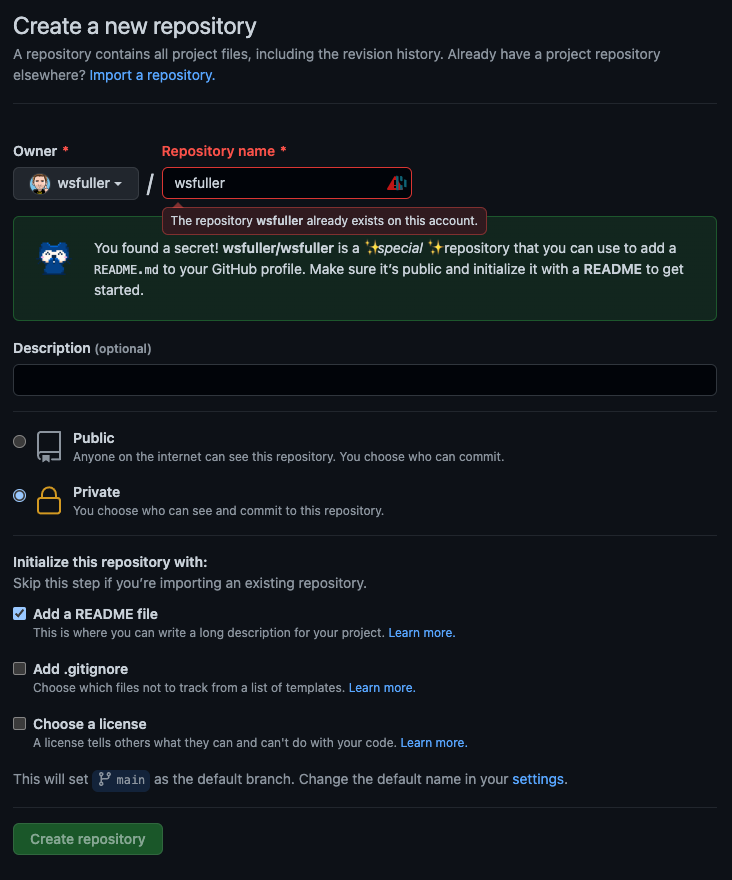
- Create a new repository
- Name the repository the same as your username
- Select Private (if you want to experiment before being Public)
- Check “Add a README file”
- Click “Create repository”
Developing the README
Once you’ve created your repository with the same username it’s time to start building out your profile.
Clone your repository to your local machine (you can use the online GH editor as well if you wish). The provided README has some commented out getting started steps like what you are currently learning, goals, fun facts, etc. For the introduction I wanted a banner instead.
Creating the banner

Using Sketch, I created a 1500x500 artboard and laid out the background similar to the hero image on my portfolio site. The foreground was a simple “Hi there…” with my logo on the bottom. This banner was placed in ./assets
Adding badges
Next up I wanted to have some sort of iconography for languages, frameworks, and tools that I use for development. This brought me to markdown-badges which is a list of styled badges based on shields.io. Markdown-badges had everything I wanted and more. I also really liked the organization so kept with the same grouping.
./README.md...banner image...#### Languages:...

Adding GitHub Stats
Next up was adding some stats using GitHub Readme Stats. I thought this was a great way to get a quick overview and display what my top languages are
./README.md...banner image...<div style="text-align: center"> <img src="https://github-readme-stats.vercel.app/api?username=wsfuller&count_private=true&show_icons=true&theme=prussian" width="400"><br /> <img src="https://github-readme-stats.vercel.app/api/top-langs/?username=wsfuller&hide=php&title_color=ffffff&text_color=c9cacc&icon_color=4AB197&bg_color=1A2B34" /></div>...badges...

Adding The Office quotes
I wanted to start learning and using GitHub Actions. Most examples regarding profiles, I’ve seen, use GH Actions to incorporate some sort of blog or populate a list of videos. Being a huge fan of The Office I found an example that uses The Office API to populate the README.
This will be a brief overview to get running with GH Actions, if you want a more in-depth explanation please see the link above for the tutorial I followed.
Overview:
- Create
./.gitignore - Create a README template file
- Setup
./package.jsonfile - Write JS script to request new quote and write new README file
- Test and verify (locally)
- Create a workflow yaml file to run GH Actions
- Push up changes
Steps:
- Create a
./.gitignorefile and addnode_modules - Create a
./README.template.mdfile - Copy and paste the contents from your
./README.mdinto./README.template.md - Add a section where your quote will go with interpolation symbols of your choosing. I’m using
{{...}}for the sections that will get replaced
./README.template.md...banner image...
...stats...
...badges...#### 📺 Quote from The OfficeI'm a huge fan of The Office...> "{{office_quote}}">> — <cite>{{office_quoted_by}}</cite>
Next we will need to install a dependency and create a JavaScript file that will take our README template, make an HTTP request to the Office API to get a quote, inject the quote into our README template, and write a new README.md file.
- Run
npm install isomorphic-unfetch --savethis will create a./package.jsonfile - Create an
./index.jswith the following
require('isomorphic-unfetch');
const { promises: fs } = require('fs');const path = require('path');async function main() {  const readmeTemplate = (await fs.readFile(path.join(process.cwd(), './README.template.md'))).toString('utf8');  const { data } = await (  await fetch('https://officeapi.dev/api/quotes/random')).json();  const readme = readmeTemplate.replace('{{office_quote}}',`${data.content}`).replace('{{office_quoted_by}}',`${data.character.firstname} ${data.character.lastname}`);  await fs.writeFile('README.md', readme);}main();
At this point we should be able to test and verify that we are writing a new README.md file with a new quote.
In a terminal window cd into your repository and run node . If you have quotes populating in the ./README.md file you are are good to go locally.
Now that things are working as expected locally we need to setup a workflow file.
Create ./.github/workflows/the-office-workflow.yml

./.github/workflows/the-office-workflow.ymlname: README with Office Quoteon: schedule: # Runs every hour - cron: '0 * * * *' workflow_dispatch:jobs: update-readme-with-office-quote: runs-on: ubuntu-latest steps: - uses: actions/checkout@v2 - name: Install Node uses: actions/setup-node@v2 with: node-version: '14' - name: Install dependencies run: npm install - name: Get quote and write new README run: node . - name: Add README to repo run: | git config pull.rebase false git pull git add . git config --global user.name "Your Name" git config --global user.email "Your E-Mail" git commit -m "[Automated] README updated with new The Office quote!" - name: Push uses: ad-m/github-push-action@master with: github_token: ${{ secrets.GITHUB_TOKEN }}
Indentation matters here, thankfully GitHub provides a good editor for actions if you have any issues after pushing your changes.

At this point the setup is complete and ready to go. Push everything up to GitHub and we can run the workflow manually to verify everything is working as expected since we have a workflow_dispatch trigger. Go to your Repository > Actions > Click action name (in the Workflows side panel) > Run workflow

At this point you should be able to test and verify your workflow is working. With the cron job set to run every hour you should be able to to have automatic updates run to populate your README with a new quote.
Happy coding 🚀
Credits
There were several resources I used to get my profile built and wanted to give credit where it is due.
I first watched a video called “Next Level GitHub Profile README ” by codeSTACKr. This provided the inspiration and GitHub Automation baseline.
Awesome GitHub Profile README, “a curated list of awesome GitHub Profile READMEs”. I looked at several different GitHub Profiles to get the general idea what I wanted to create.
Found Braydon Coyer’s profile README and followed the tutorial on how to integrate The Office API quotes dynamically. Since I didn’t have a blog or list of videos to display but wanted to work with GH Actions this provided an excellent solution.
